Tiling textures in Fireworks
/63
I've been using Fireworks pretty much every day since around 2005, yet every project opens up the opportunity to learn something new. Perhaps this is one of those "well, duh" posts, but I'm writing it up anyway in case it benefits someone who didn't know this technique.
Textured backgrounds seem to be all the rage, possibly spurred on by Apple's "skeuomorphic" design phase. Subsequently, I'm being sent a lot more mockups to mark up which have textured interfaces.
Whenever I tried to recreate something like this in Fireworks, I'd get an image of some paper, tweak the curves, create a tile out of it that repeats nicely, and then paste the tile lots and lots of times all over the canvas. Very time consuming and also not very flexible.
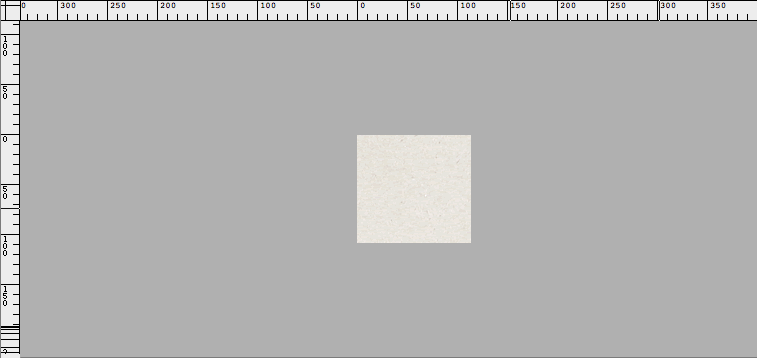
A better way is to first save the tile as a separate image.
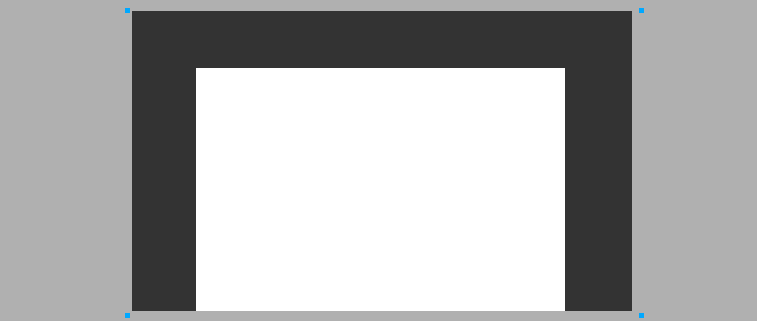
Now go back to your mockup and draw a shape. In my example I've drawn a black rectangle that covers the entire canvas, and I've got a white rectangle on top of it. I want the texture to be on the black rectangle only, so I've selected that.
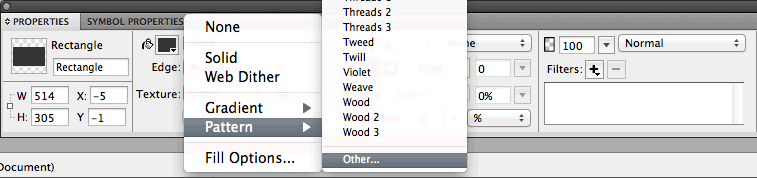
Now in the properties toolbar, click on the dropdown box that currently says "Solid". Select "Pattern" and you'll be presented with a number of options. Scroll down to the very bottom and select "Other…"
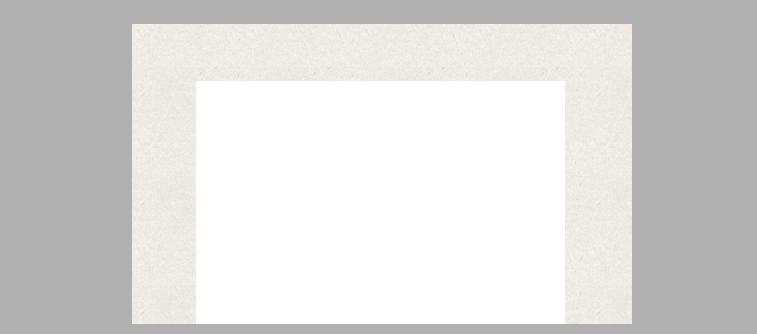
Navigate to where you saved your tile and select it. This will now tile your image in the rectangle you've created.
If you want to later resize your rectangle, don't use the scale tool because this will stretch the tiles. Instead, either type the dimensions into the Properties box, or select the individual handles while holding down SHIFT, and move these left and right using the arrow keys. (If you keep SHIFT held down, it moves these points faster.)
The tile I created is a semi-transparent PNG, so if I then layer it on top of another shape with a background colour, it will be a slightly darker version of that. This is really handy for development if you have a site with different colour variations of the same texture. Changing the background colour in the CSS appears to change the colour of the texture as well, and as a result, it gives a good fallback if images fail to load.